
Choose the growing system first
Decide whether you are planning in-ground rows, raised beds or a mix before you count spaces. Bed width, access and the soil underneath all affect the design. In an open-bottom raised bed, roots may continue into the soil below, so frame height is not the same as total root depth. Where a bed sits over a hard surface, the source guide gives different depth advice; check that guidance against your site rather than assuming one frame height fits every situation.
If you plan to fill a raised bed, the source describes compost-to-topsoil blends of 1:2 or 1:1 as options. Treat these as choices to assess against the materials you can obtain, not as a guaranteed recipe.
- Sketch the overall area and mark which parts will be in-ground, raised or left unplanted.
- Note whether each raised bed is open to the soil below or sits over a hard surface.
- Record the bed width and the access space you need beside it before drawing planting rows.
Source context: University of Maryland Extension
Mark paths and supports outside the planting rectangle
Paths are part of the layout, not leftover space. Draw them first, then define the usable planting rectangle inside what remains. Supports belong outside that rectangle too: choose the support method before placing plants, because staking or caging changes how much room a crop needs. For tomatoes, the source gives 18 to 36 inches within a row and 48 to 60 inches between rows, and explains that growth habit and the support method affect spacing. A narrow bed and the adjacent path must be considered together, since a cage or stake can crowd the walkway.
This is why a generic square grid is not a garlic paired-row or tomato growing recommendation. A grid can help you count positions in a geometric exercise, but it does not replace the row spacing for the crop you are actually growing.
- Draw paths at their real width on the plan before marking any planting area.
- Choose the support type for each crop and show its footprint on the plan.
- Check that supports do not intrude into paths or neighboring beds.
Source context: University of Maryland Extension
Count spaces with actual crop spacing
Once the usable rectangle and support footprints are marked, count positions using the row spacing for each crop. Keep edge margins separate from the planting area so plants are not placed against a path or frame. If you use a planning date, match it to the crop, variety, frost risk and location. Days-to-maturity labels can start at sowing or at transplanting depending on the crop, so do not compare those numbers as if they share one start point.
- List each crop with its within-row and between-row spacing.
- Subtract edge margins and support footprints from the usable rectangle.
- Count positions crop by crop rather than applying one spacing value to the whole bed.
- Check any planning date against crop, variety, frost risk and location.
Source context: University of Maryland Extension · University of Maryland Extension
Work through the geometric example
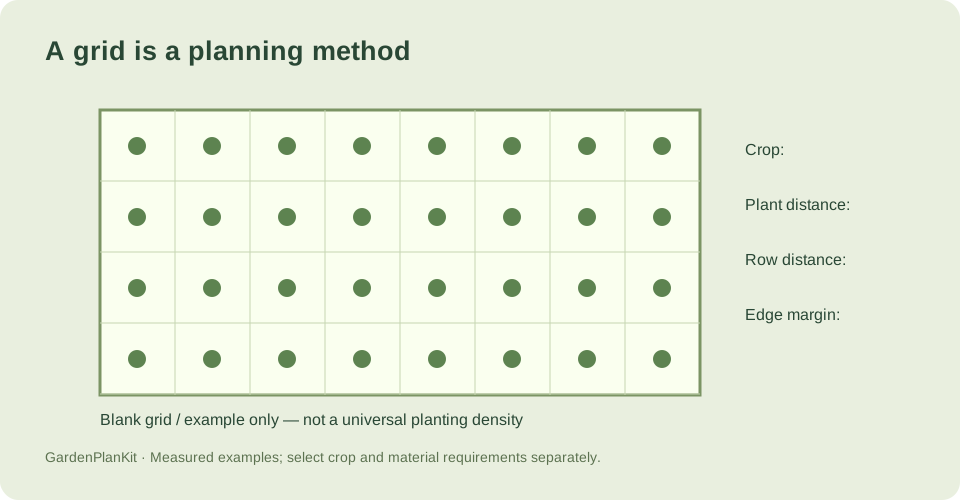
The supplied example is a purely geometric 96 in by 48 in rectangle with 12 in center spacing in both directions and 6 in edge margins. Removing the margins leaves 84 in by 36 in. At 12 in spacing, that gives 8 positions along the length and 4 across the width, for 32 plant positions. This shows how margins and spacing interact on paper. It is not a crop recommendation, and the 12 in value should not be carried over to a crop whose actual row spacing differs.
- Subtract edge margins from both dimensions before counting.
- Divide each remaining dimension by the center spacing and record the whole-number result.
- Multiply the two counts to get plant positions, and label the result as a geometric example.
Source context: University of Maryland Extension
Check your measured example
A purely geometric 96 in × 48 in rectangle, 12 in center spacing in both directions, 6 in edge margins. This is not a crop recommendation.
| Quantity | Calculated result |
|---|---|
| along length | 8 |
| across width | 4 |
| plant positions | 32 |
The 96 in by 48 in rectangle with 12 in spacing and 6 in margins is a geometry demonstration only. After margins, 84 in by 36 in at 12 in spacing yields 8 by 4 positions, or 32. No crop advice is implied.
Example inputs explain the method. Review the source context, chosen cultivar and actual site before planting or ordering.
Your before-you-plant checklist
- Growing system chosen for each part of the area
- Paths drawn at real width before planting rows
- Support footprints marked outside the usable planting rectangle
- Edge margins subtracted before counting positions
- Each crop counted with its own row spacing, not one universal grid
Questions that come up while planning
Should I count plant spaces before or after drawing paths?
Draw paths and supports first, then count spaces inside the remaining usable planting rectangle. Paths and support footprints reduce the area available for plants, so counting first can overstate capacity.
Can I use one square-foot grid for every crop?
No. Use the actual row spacing for each crop. A generic square grid is not a garlic paired-row or tomato growing recommendation, and tomato spacing varies with habit and support method.
Does raised bed frame height equal root depth?
Not necessarily. In an open-bottom bed, roots may continue into the soil below. Where a bed sits over a hard surface, the source guide gives different depth advice, so treat frame height and total root depth as separate considerations.
Sources & method
Horticultural guidance is linked to its original source and regional context. Geometry and unit conversions are calculated separately. Read how we prepare and check a page.
- Growing Vegetables in Raised BedsUniversity of Maryland Extension
- When to Plant VegetablesUniversity of Maryland Extension
- Growing Tomatoes in a Home GardenUniversity of Maryland Extension