
Choose your next step
Measure beds and keep access separate
Bed width, access and the soil underneath all affect the design. Choose a bed width that lets you reach the planting area without stepping into it, and treat the path as its own measured strip rather than leftover space. For an open-bottom bed, roots may continue into the soil below, so frame height is not the same as total root depth. The raised-bed guide gives different depth advice for beds over hard surfaces; check which situation matches your site before fixing a frame size.
Record each bed as length by width, then record paths separately. That keeps the planting area honest when you total it later.
- Measure each bed length and width in inches and write both numbers down.
- Measure path width as a separate strip and note what surface it will have.
- Note whether the bed sits on soil or a hard surface, since depth advice differs.
Source context: University of Maryland Extension
Set a measured planting area and check spacing
Once beds and paths are measured, calculate the planting area inside the bed edges. Edge margins reduce the space available for plants, so subtract them before counting positions. Use the spacing calculator to test a chosen center spacing in both directions; the result is a count of positions, not a crop recommendation.
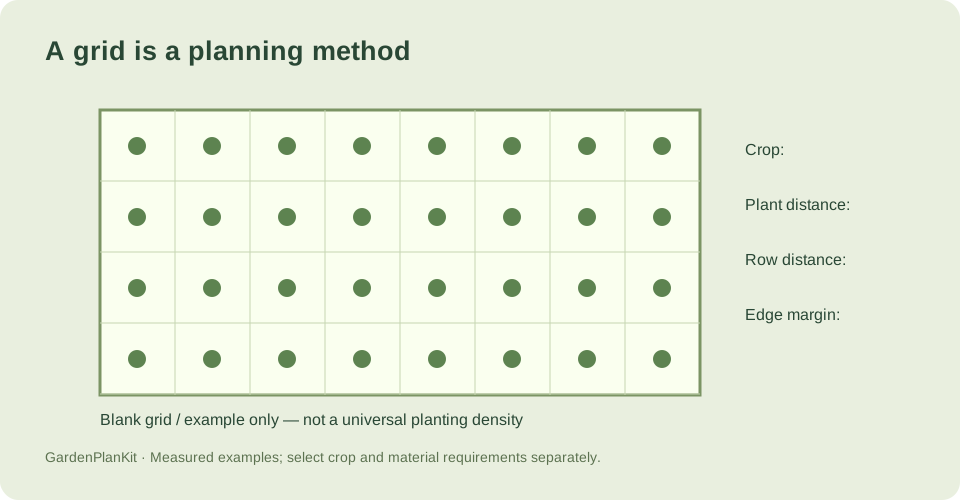
The supplied example is purely geometric: a 96 in by 48 in rectangle with 12 in center spacing both ways and 6 in edge margins. Along the length, 96 in minus two 6 in margins leaves 84 in, which fits 8 positions at 12 in spacing. Across the width, 48 in minus 12 in leaves 36 in, which fits 4 positions. That gives 32 plant positions. This shows how the arithmetic works; it does not say what to grow at that spacing.
- Subtract edge margins from bed length and width before dividing by spacing.
- Divide each remaining dimension by the center spacing and round down to whole positions.
- Multiply the two position counts to get the geometric total.
- Check the result against the spacing calculator before printing the layout.
Source context: University of Maryland Extension
Print blank layouts and add timing notes
Printable blank layouts let you sketch bed outlines, paths and plant positions at the measured scale. Mark the bed dimensions and edge margins on the sheet so the drawing matches your measurements. Keep paths drawn as separate strips.
Timing belongs on the same sheet but must be checked, not assumed. A planning date has to match the crop, variety, frost risk and location. Days-to-maturity labels may start at sowing or at transplanting depending on the crop, so note which starting point a label uses before you write a date. The layout sheet is a planning record, not a guarantee of harvest timing.
- Print a blank layout and label each bed with its measured length and width.
- Draw paths as separate strips and mark edge margins.
- Add crop, variety and the label's starting point for any timing note.
- Recheck dates against local frost risk and location before relying on them.
Source context: University of Maryland Extension
Check your measured example
A purely geometric 96 in × 48 in rectangle, 12 in center spacing in both directions, 6 in edge margins. This is not a crop recommendation.
| Quantity | Calculated result |
|---|---|
| along length | 8 |
| across width | 4 |
| plant positions | 32 |
The example is a geometric demonstration only: a 96 in by 48 in rectangle, 12 in center spacing in both directions, and 6 in edge margins. Subtracting margins leaves 84 in by 36 in, which fits 8 positions along the length and 4 across the width, for 32 positions. It is not a crop recommendation and does not establish spacing for any particular vegetable.
Example inputs explain the method. Review the source context, chosen cultivar and actual site before planting or ordering.
Your before-you-plant checklist
- Bed length and width measured and written down
- Paths measured as separate strips, not leftover space
- Bed base noted as open soil or hard surface
- Edge margins subtracted before counting plant positions
- Spacing result checked with the calculator
- Timing notes include crop, variety and label starting point
Questions that come up while planning
How do I count plant positions in a rectangular bed?
Subtract edge margins from each dimension, divide each remaining length by the center spacing, round down to whole positions, then multiply the two counts. The 96 in by 48 in example with 12 in spacing and 6 in margins gives 8 by 4, or 32 positions. That is geometry, not crop advice.
Does frame height equal root depth?
Not necessarily. In an open-bottom bed, roots may continue into the soil below, so frame height is not total root depth. The raised-bed guide gives different depth advice for beds over hard surfaces, so check which case applies to your site.
Can I use days-to-maturity labels to set a planting date?
Only with care. A planning date must match crop, variety, frost risk and location, and days-to-maturity labels can start at sowing or transplanting depending on the crop. Note the label's starting point before writing a date.
Sources & method
Horticultural guidance is linked to its original source and regional context. Geometry and unit conversions are calculated separately. Read how we prepare and check a page.
- Growing Vegetables in Raised BedsUniversity of Maryland Extension
- When to Plant VegetablesUniversity of Maryland Extension