
Print or save your planning sheet
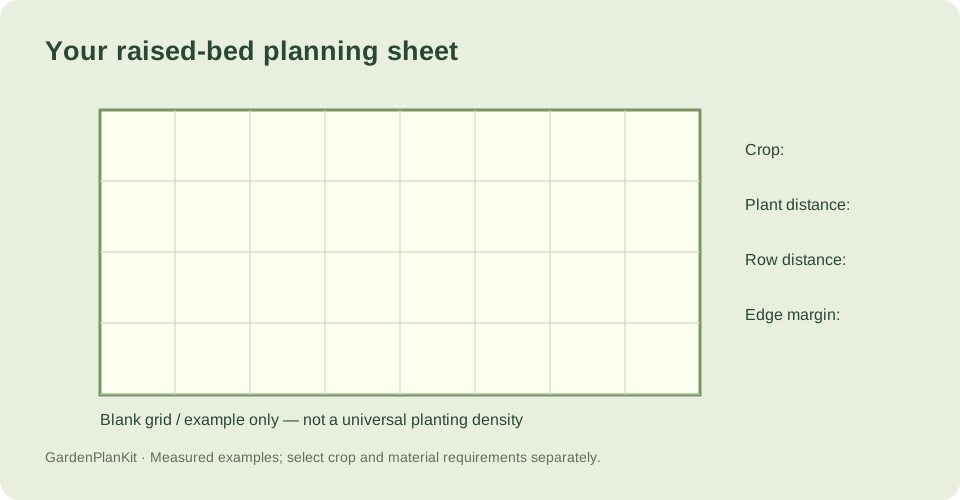
Print the page, or save the original SVG worksheet. The drawing supports planning; it is not a full-size planting template.
What the blank worksheets contain
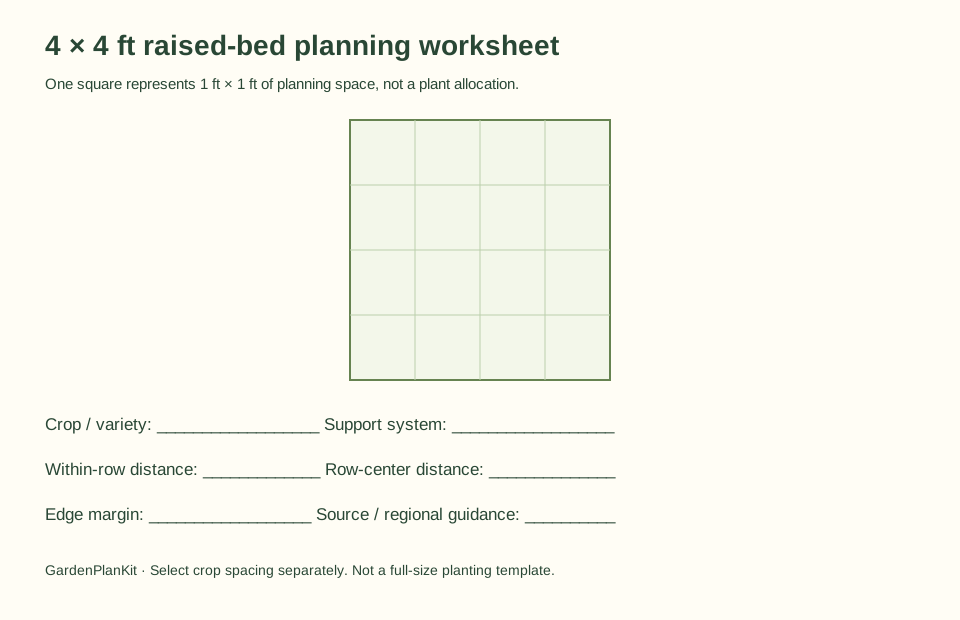
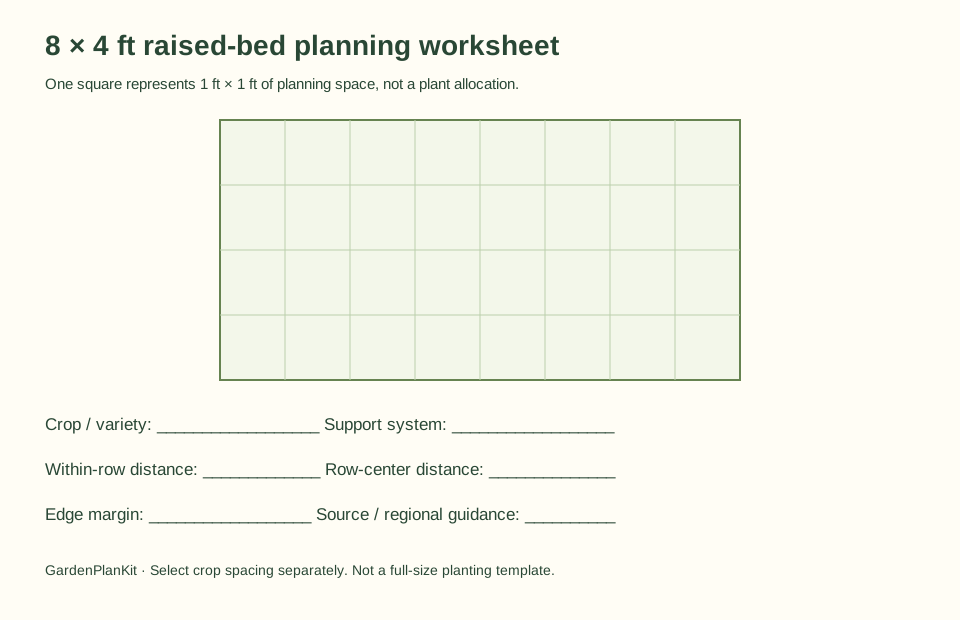
Each worksheet is a rectangle divided into 12-inch squares, with a margin for labels and notes. The 4×4 sheet is 48 inches by 48 inches; the 4×8 sheet is 96 inches by 48 inches. Print at full size or scale to fit, and write the actual bed dimensions on the sheet so the grid is not mistaken for a fixed planting rule.
The grid is a measuring aid. It helps you compare plant positions, walking access, and support footprints on paper. It does not assign a crop to a square, and it does not set spacing for any particular vegetable.
- Print the 4×4 or 4×8 sheet, or open the SVG file for editing.
- Write the real bed length and width at the top of the sheet.
- Mark the side you will reach from and any adjacent path.
- Note whether the bed is open-bottom or sits over a hard surface.
Source context: University of Maryland Extension
Measured grid example: 96 in × 48 in
The supplied example is a purely geometric rectangle 96 inches long and 48 inches wide, with 12-inch center spacing in both directions and 6-inch edge margins. Along the length, 6 inches of margin plus eight 12-inch intervals plus 6 inches of margin totals 96 inches, giving 8 positions. Across the width, the same arithmetic gives 4 positions. That yields 32 plant positions on the sheet.
This example shows how the arithmetic works on paper. It is not a crop recommendation, and 12 inches is not a spacing rule for tomato, pepper, or any other crop. Use it to check that your own marks fit the bed and that you can still reach the plants.
- Measure the bed and confirm the length and width match the sheet.
- Subtract the edge margins from each dimension.
- Divide the remaining length by your chosen spacing to count positions.
- Repeat across the width, then multiply the two counts.
Source context: University of Maryland Extension
Checking spacing and support before you finalize
The spacing facts supplied here are crop-specific and depend on habit and support. Tomato guidance gives 18–36 inches within a row and 48–60 inches between rows, with habit and staking or caging affecting the choice. Pepper guidance gives a home-garden example of plants 18 inches apart and rows 30–36 inches apart, and notes that its growing conditions are Minnesota-specific, so variety and local advice still matter.
Choose the support method before placing plants. A narrow bed and the adjacent path must be considered together, because a cage or stake occupies space beyond the plant stem. Bed width, access, and underlying soil also affect the design. In an open-bottom bed, roots may continue into the soil below, and frame height is not total root depth. Where a bed sits over a hard surface, the depth advice differs.
- Pick the support method and mark its footprint on the sheet.
- Check that the marked footprint leaves a usable path.
- Compare your marks with the crop spacing facts rather than the 12-inch grid.
- Record whether the bed is open-bottom or over a hard surface.
Source context: University of Maryland Extension · University of Minnesota Extension · University of Maryland Extension
Printing and SVG download
The worksheets are offered as print sheets and as SVG files. The SVG can be opened in a vector editor to change labels or line weights, but the measured grid should stay at its stated dimensions unless you relabel the sheet. Keep a printed copy with your notes so the plan can be checked against the bed.
Compost and topsoil blends of 1:2 or 1:1 are described as options in the source guide, not as a substitute for assessing the materials you actually have. The worksheets do not calculate soil volume or prescribe a mix.
- Print one copy at full size and keep it as the measured reference.
- Download the SVG if you need to edit labels or line weights.
- Label any edited sheet with its revised dimensions.
- File the printed sheet with your bed notes.
Source context: University of Maryland Extension
Check your measured example
A purely geometric 96 in × 48 in rectangle, 12 in center spacing in both directions, 6 in edge margins. This is not a crop recommendation.
| Quantity | Calculated result |
|---|---|
| along length | 8 |
| across width | 4 |
| plant positions | 32 |
The supplied example is a 96 in × 48 in rectangle with 12-inch center spacing and 6-inch edge margins. Along the length, 6 + 8×12 + 6 = 96, giving 8 positions; across the width, 6 + 4×12 + 6 = 48, giving 4 positions; 8 × 4 = 32 positions. This is a geometrical demonstration only and is not a crop recommendation.
Example inputs explain the method. Review the source context, chosen cultivar and actual site before planting or ordering.
Your before-you-plant checklist
- Bed length and width written on the sheet and checked against a tape measure.
- Reaching side and adjacent path marked.
- Support footprint marked before plant positions are finalized.
- Open-bottom or hard-surface placement noted.
- Crop spacing checked against the supplied facts, not the 12-inch grid.
Questions that come up while planning
Is one square on the worksheet one plant?
No. Each square is a 12-inch planning guide for position and access. Crop spacing comes from the crop-specific facts, not from the grid.
Does the 96 in × 48 in example recommend 12-inch spacing?
No. It is a geometric example showing how margins and intervals produce 8 positions along the length and 4 across the width, for 32 positions. It is not crop advice.
Can I use the tomato and pepper spacing facts for any variety?
Use them as supplied guidance, not a guarantee. Tomato spacing depends on habit and staking or caging, and the pepper example is Minnesota-specific, so variety and local growing advice still matter.
Sources & method
Horticultural guidance is linked to its original source and regional context. Geometry and unit conversions are calculated separately. Read how we prepare and check a page.
- Growing Vegetables in Raised BedsUniversity of Maryland Extension
- Growing Tomatoes in a Home GardenUniversity of Maryland Extension
- Growing PeppersUniversity of Minnesota Extension