
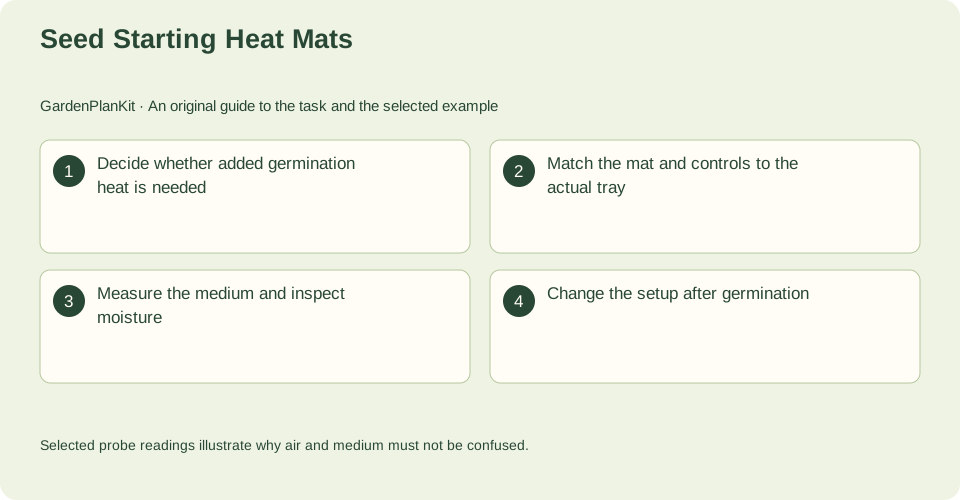
Decide whether added germination heat is needed
Start with the seed packet, your local outdoor conditions and the crop's sensitivity, as UConn advises using these together. Warm germination conditions and post-emergence seedling management are different jobs, so added heat belongs only to the germination stage where the crop guidance calls for it. If your starting area already sits near the crop's stated germination range, a mat may add cost and drying risk without solving a real problem.
Treat a mat as optional. The clearest reason to use one is a measured gap between your actual medium temperature and what the crop guidance describes. Check that gap before buying or plugging in equipment.
- Read the seed packet for germination temperature guidance and compare it with your starting area.
- Measure medium temperature in a filled tray before deciding to add heat.
- Note whether the crop is sensitive to warm conditions at germination.
Source context: University of Connecticut Home Garden Education
Match the mat and controls to the actual tray
Fit matters more than features. Confirm the mat's stated dimensions cover the footprint of the tray you actually use, and follow the package label for any volume or unit conversions. A mat larger than the tray wastes coverage; one much smaller leaves part of the medium unheated, so probe several spots rather than one.
UConn specifically says not to put the heat mat on the same timer as the lights. That separation lets you control warmth independently of the light schedule. Use whatever thermostat or control the mat's label describes, and set it according to the crop guidance you gathered, not a guessed number.
- Measure your tray footprint and compare it with the mat's stated dimensions.
- Keep the heat mat on its own control, separate from the light timer.
- Place the probe where it reads the medium, not the room air.
Source context: University of Connecticut Home Garden Education
Measure the medium and inspect moisture
Air temperature and medium temperature are not the same reading. In the hypothetical example, air reads 70 F while two medium probes read 68 F and 76 F. That spread shows why a single air reading can mislead: compare measured medium readings with your crop guidance, and treat the numbers as illustrations rather than targets.
Because UConn warns that mats can dry the medium faster, inspect moisture at the same time you check temperature. Look and feel for the medium's condition rather than assuming the mat's warmth keeps it evenly moist. If one probe spot runs warmer, check moisture there too.
- Record medium temperature at more than one spot in the tray.
- Compare those readings with crop guidance, not with room air.
- Inspect medium moisture each time you check temperature.
Source context: University of Connecticut Home Garden Education
Change the setup after germination
Once seedlings emerge, the germination job is done. UConn separates warm germination from post-emergence seedling management, so reassess whether the mat still belongs in the setup. Continue measuring the medium and watching moisture as you adjust.
Later, indoor growth leads to hardening before outdoor planting. Move seedlings outdoors gradually in a protected place, increasing time and exposure as conditions allow, and avoid treating one calendar date as proof of readiness. Transplant on a cloudy day or later in the afternoon when appropriate, protect roots and maintain suitable moisture. Temporary drooping can happen; persistent decline calls for checking moisture, roots and exposure rather than waiting on an invented deadline.
- Reassess the mat after seedlings emerge.
- Keep checking medium moisture as the setup changes.
- Harden seedlings gradually before outdoor planting.
Source context: University of Connecticut Home Garden Education
Work through this example
Selected probe readings illustrate why air and medium must not be confused.
| Example detail | Selected value or observation |
|---|---|
| air reading F | 70 |
| medium reading A F | 68 |
| medium reading B F | 76 |
| interpretation | Compare measured medium with crop guidance; these readings are not targets. |
The example is hypothetical: air reads 70 F while two medium probes read 68 F and 76 F. It illustrates why air and medium must not be confused; the readings are not targets and should be compared with your crop guidance.
Use this example to structure your own notes. Check the source conditions for the crop, method and setting.
Your action checklist
- Seed packet germination guidance checked against your starting area
- Medium temperature measured in a filled tray before adding heat
- Mat dimensions compared with the actual tray footprint
- Heat mat kept off the light timer
- Medium moisture inspected whenever temperature is checked
Questions that come up while planning
Do I need a heat mat to start seeds indoors?
No. UConn describes heat mats as optional for seed starting. Decide based on the seed packet, local conditions and crop sensitivity, and on measured medium temperature rather than room air alone.
Can the heat mat share the light timer?
UConn says not to put the heat mat on the same timer as the lights. Keep warmth on its own control so the two schedules stay independent.
Why measure the medium instead of the air?
Air and medium can read differently. The hypothetical example shows 70 F air with medium probes at 68 F and 76 F, so medium readings are what you compare with crop guidance.
Sources & method
Horticultural guidance is linked to its original source and regional context. Geometry and unit conversions are calculated separately. Read how we prepare and check a page.
- Seed StartingUniversity of Connecticut Home Garden Education