
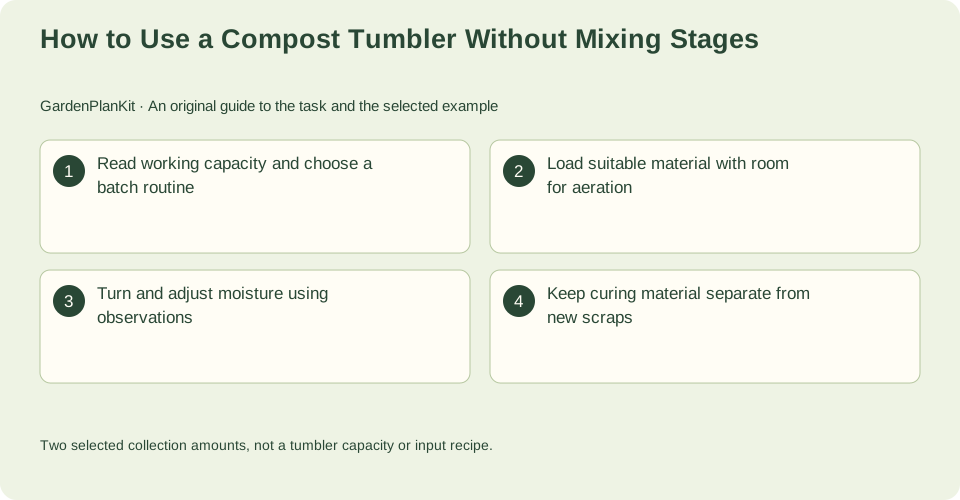
Read working capacity and choose a batch routine
Start with the manufacturer's instructions for working fill and operation. That limit, not the drum's total volume, governs how much material belongs in an active batch. Method choice also depends on your available materials, space, effort and intended use, so decide whether a tumbler fits your routine before filling it.
A batch routine means you add material to one active load, then stop adding fresh scraps while it decomposes. Label three states in your notes: fresh accumulation waiting to go in, active material in the tumbler, and curing material set aside. Keeping these distinguishable is the core of avoiding mixed stages.
- Find the working fill limit in the manufacturer's instructions and record it.
- Decide where fresh scraps will wait before joining an active batch.
- Set up a separate container or area for curing material.
Source context: Oregon State University Extension
Load suitable material with room for aeration
Composting needs air, water, carbon-rich browns and nitrogen-rich greens. Brown and green materials vary in composition, so a bucket ratio is a starting reference, not a laboratory carbon-to-nitrogen measurement. Add both types and leave room below the working fill limit so material can move and air can enter when you rotate.
Keep meat, dairy, oily food and pet waste out of an ordinary home food-scrap plan unless a specifically suitable managed process is established. This limitation matters at the loading decision: if those materials are part of your routine, a standard tumbler batch is not the place for them.
- Sort scraps before loading and set aside anything outside an ordinary home food-scrap plan.
- Add brown and green material together rather than layering only one type.
- Stop loading below the manufacturer's working fill limit so aeration space remains.
Source context: Oregon State University Extension
Turn and adjust moisture using observations
Tumbler guidance recommends regular rotation, using the same material, air and water principles as other composting systems. Rotate according to the manufacturer's operation instructions, then observe the batch. Bad smells or excess wetness call for checking aeration, food inputs and dry materials. A dry, inactive batch needs a moisture assessment before you add anything.
Do not promise completion in a fixed number of days, and do not assume a home process sanitizes risky inputs. Judge progress by what the material looks and smells like, and adjust one factor at a time so you can tell what changed.
- Rotate as the manufacturer directs, then check for smells and wetness.
- If the batch smells bad or looks too wet, check aeration, recent food inputs and whether dry browns are needed.
- If the batch looks dry and inactive, assess moisture before adding more material.
Source context: Oregon State University Extension
Keep curing material separate from new scraps
When active material no longer belongs in the active stage, move it to your curing area and stop treating it as part of the working batch. One batch actively decomposing should be distinguishable from fresh additions and from finished material. Fresh scraps go to the accumulation container, not back into curing material.
This separation is what lets you start the next batch without restarting the previous one. It also keeps your notes honest: each container holds one stage, and the tumbler holds only the active load.
- Move material to the curing container when you decide the active stage is complete.
- Direct new scraps to the fresh accumulation container, not the curing area.
- Start the next active batch only after the tumbler is cleared.
Source context: Oregon State University Extension
Work through this example
Two selected collection amounts, not a tumbler capacity or input recipe.
| Example detail | Selected value or observation |
|---|---|
| collection A L | 4 |
| collection B L | 6 |
| total material recorded L | 10 |
| batch boundary | Label fresh accumulation, active material and curing material separately. |
The supplied example records two selected collection amounts, 4 L and 6 L, totaling 10 L. It is not a tumbler capacity or an input recipe; it only illustrates recording amounts while labeling fresh accumulation, active material and curing material separately.
Use this example to structure your own notes. Check the source conditions for the crop, method and setting.
Your action checklist
- Manufacturer's working fill limit recorded and followed.
- Fresh accumulation, active material and curing material kept in separate labeled states.
- Brown and green materials added together with aeration room below the fill limit.
- Rotation done per manufacturer instructions, with smells and moisture checked afterward.
- Curing material moved out before new scraps or a new batch enter the tumbler.
Questions that come up while planning
Can I keep adding scraps to a tumbler while it is decomposing?
That mixes fresh additions with active material. A batch routine keeps fresh accumulation, active material and curing material separate so each stage stays distinguishable.
How do I know whether my tumbler batch needs more browns or more water?
Observe first. Bad smells or excess wetness call for checking aeration, food inputs and dry materials. A dry, inactive batch needs a moisture assessment. Adjust based on what you see rather than a fixed schedule.
Does a home tumbler sanitize meat, dairy or pet waste?
Do not assume a home process sanitizes risky inputs. Keep meat, dairy, oily food and pet waste out of an ordinary home food-scrap plan unless a specifically suitable managed process is established.
Sources & method
Horticultural guidance is linked to its original source and regional context. Geometry and unit conversions are calculated separately. Read how we prepare and check a page.
- Do the Rot Thing: Choosing and Using a Composting SystemOregon State University Extension